The bathroom can get overlooked when talking about Montessori at home.
And that makes sense because it’s not as exciting as other spaces like the playroom or kitchen.
But the bathroom is a big part of the daily rhythm, and it should be in the Montessori at home conversation — and you might be surprised at how a few simple changes can make your bathroom Montessori friendly.
So in this blog post, I’m going to talk about what we’ve done with our bathrooms to make them Montessori friendly and hopefully provide you with some ideas or inspiration for your own.
Why Should We “Montessori” Our Bathrooms?
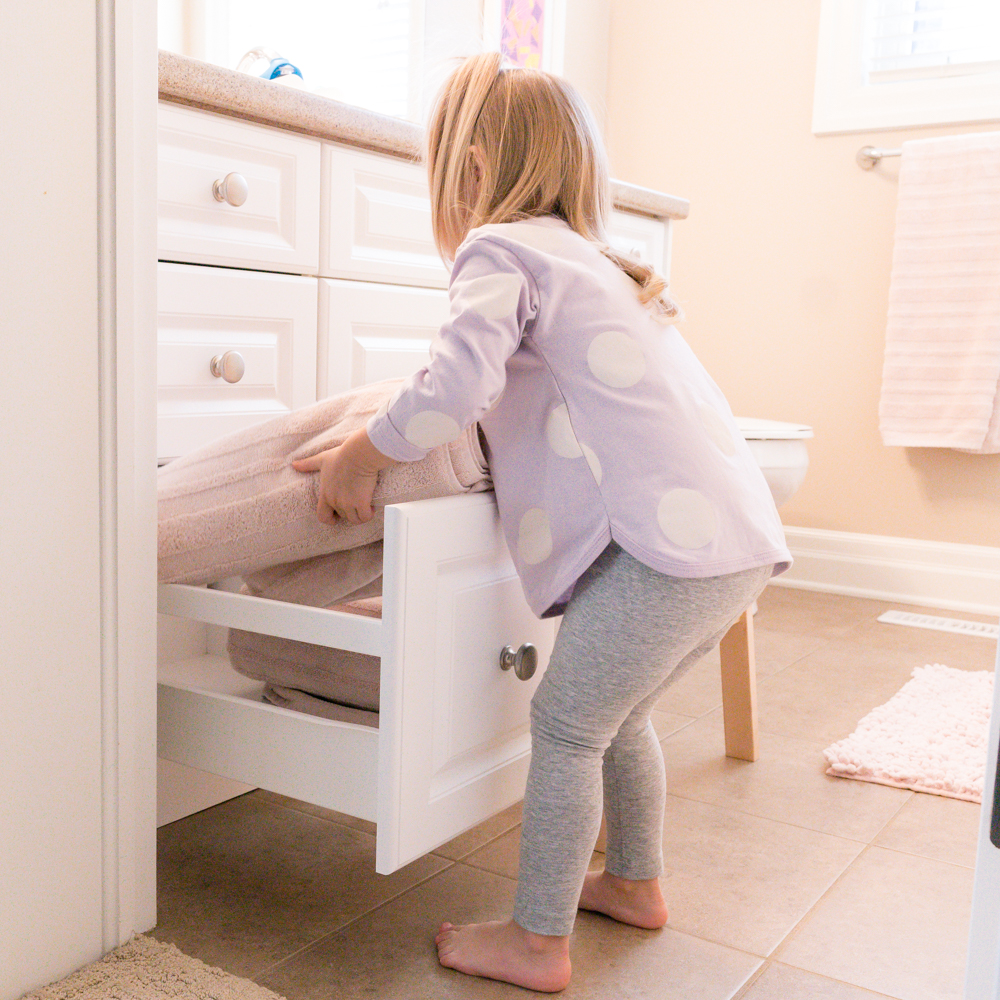
A big part of the Montessori method is allowing our children to be more independent and capable.
We do this by providing the children with a prepared environment where each element exists to help the child’s development.
And one of the best places to put this into action is in our bathrooms, where we can promote “care of self” practical life skills.
Let’s take a look at how we can do this.
The Bathroom Vanity
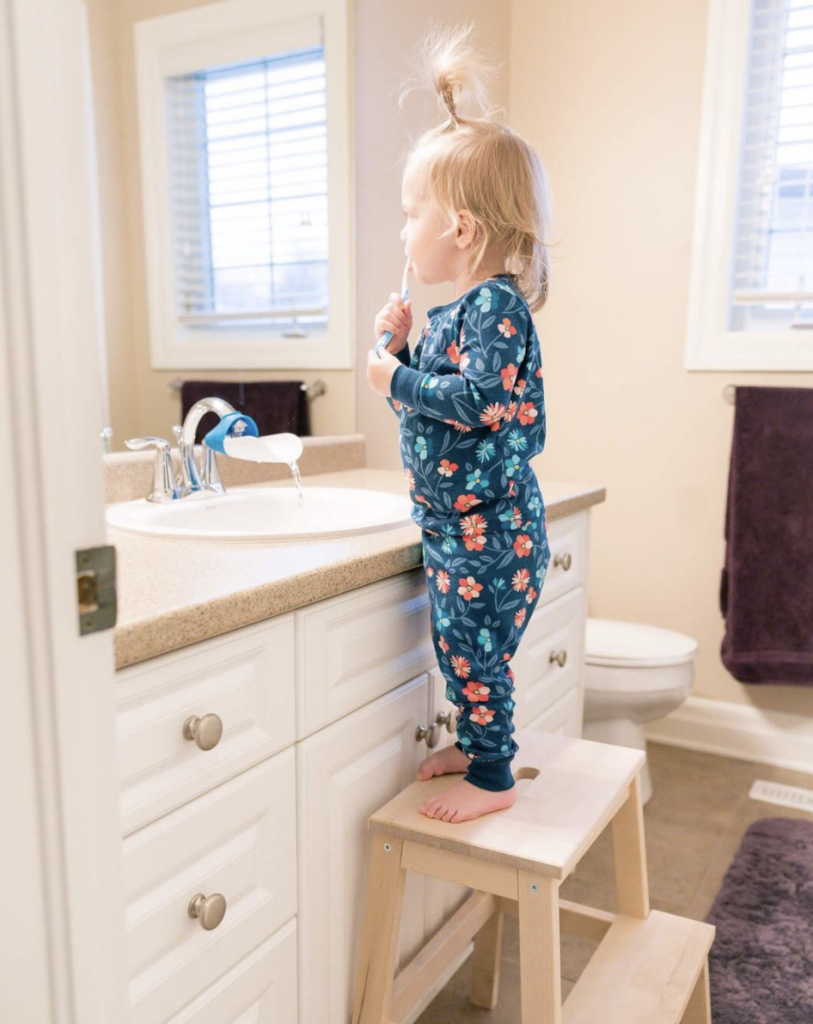
The first step to ‘Montessori’ing’ your bathroom is to provide your child access to the sink.
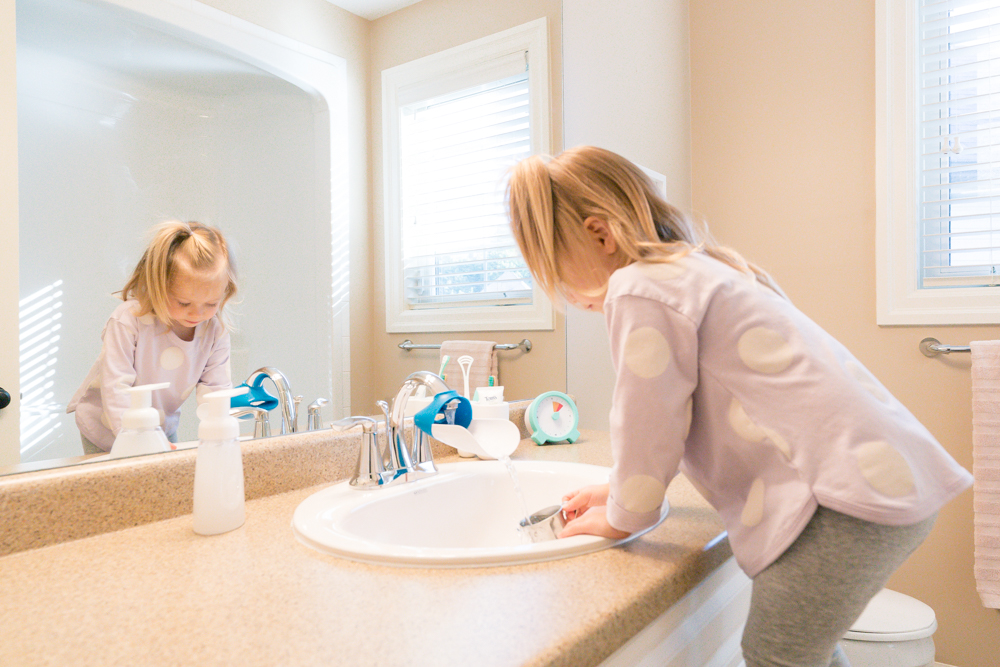
A sturdy step stool is ideal for access to the sink. With our 2-year-old daughter, K, we use a tall two-tier step stool that you can find in our Montessori Ikea Items post. But the size you choose will depend on the height of your child(ren).
To ensure that she can reach the water easily we use a Faucet Extender that brings the water about 6 inches closer to her so she doesn’t have to lean over too far.
Next up is providing your child access to hygiene supplies.
The most important item would be soap for handwashing. We recommend a foam dispenser, as they are easy for toddlers to use and offer a delightful sensory experience as well.
Tip: make a washcloth or small hand towel accessible for wiping up spills.
Other items you could give your child access to could include child-friendly toothpaste and a toothbrush, rinsing cup, hairbrush/comb, and tissues.
Lastly, it’s important to make sure that a hand towel is at a height that allows your child to use it (if yours is high, you can buy a 3M removable adhesive hook to hang a lower hand towel for your child until they are tall enough to reach yours).
Toilet Area
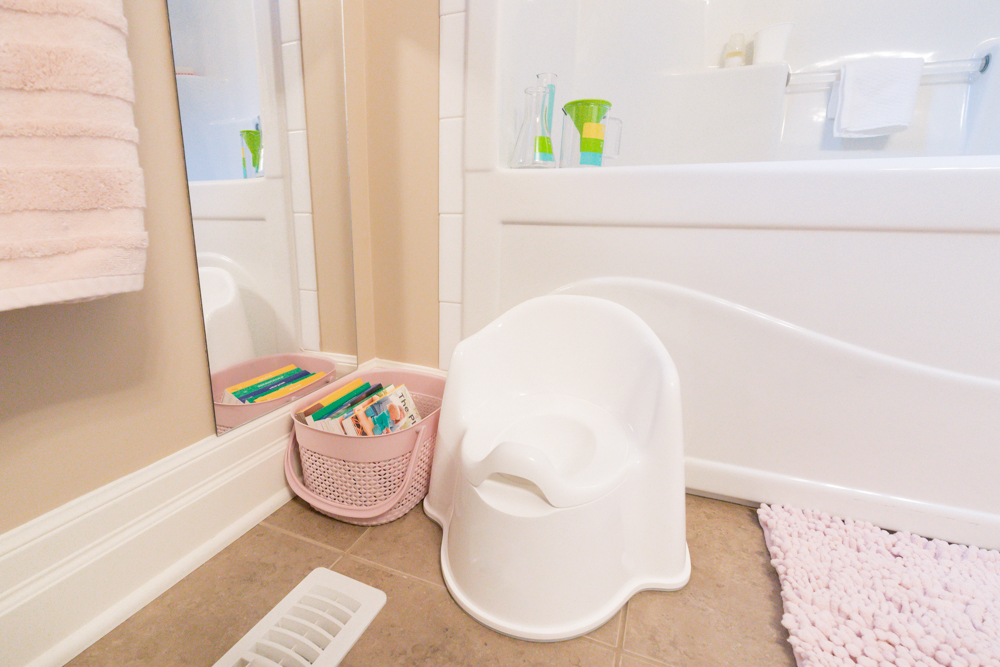
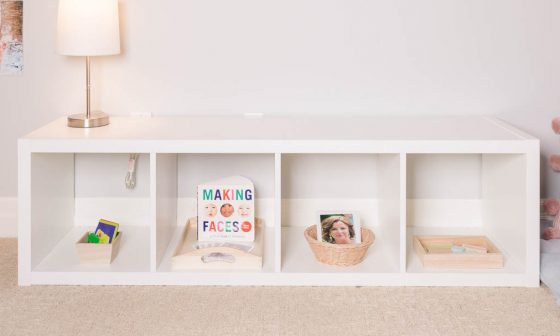
To prepare the environment for toilet learning, we set up “potty spots” in the main level and upstairs bathrooms.
When we first started our toilet learning journey this spot included: a basket with books, diapers, wipes and a full-length childsafe acrylic mirror. The books provided a positive experience on the potty, and the mirror helps promote body awareness and aids in self-dressing. The picture above is our current potty spot now that our daughter is diaper free.
We made sure to place the potty in a spot where the toilet paper would be in reach.
If you are dealing with older children, you can use a potty seat on your toilet with a low step stool for toileting independence.
Tip: when toilet learning, store a change of underwear and pants in your bathroom.
The Bath
Lastly, I have a few tips for a Montessori approach to your bath area.
As K has gotten older, we now use travel-sized reusable bottles for her shampoo and body wash. They are the perfect size for little hands, and it allows you to put only a small amount in each, so you don’t have to worry about wasting.
Bath time should be a fun time, so we always offer some bath toys. Just like a Montessori playroom, we limit the number of toys and rotate them out to keep our girls interested.
Some of our favorite bath toys are simple and include plastic pitchers from Lovevery (great for transferring and pouring) and a golf ball for hiding in the bubbles.
More recently, we’ve added a low 3M hook in the girl’s bathroom. This provides a place for K’s bath towel so she can hang it back up when she’s done drying off.
Bonus Tips
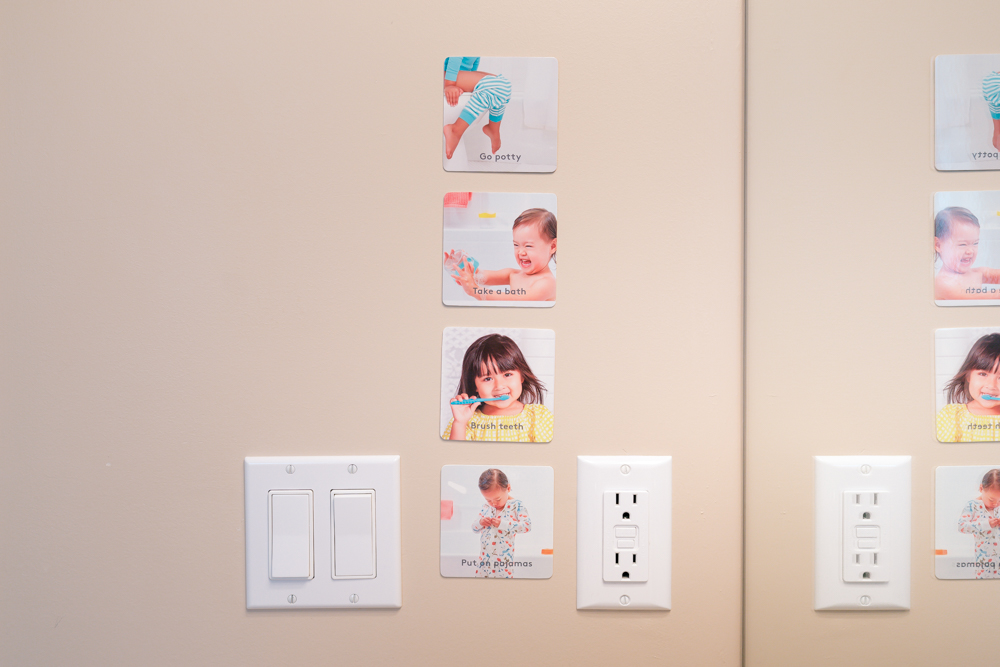
Routine cards are a great way to keep toddlers on track through the bedtime routine (we are using the Lovevery routine cards pictured above).
The bathroom is also a great place to display some of your child’s artwork. We replaced our previous bathroom artwork with one of K’s beautiful and colorful creations, and it adds a nice finishing touch!
Montessori Bathroom Recap
Our Montessori inspired bathroom has been a work in progress and, like most spaces in our house, is always changing. But I feel like we are pretty happy with how we have it set up now.
We started by adding a step stool and faucet extender and have slowly added items as K has grown, so it definitely didn’t all come together overnight!
I hope this post helped give you some ideas or inspiration on how to Montessori your own bathroom.
Do you have any ideas or topics I missed? I would love to hear in the comments below 🙂

2 comments
Hi there, where did you get the mirror next to the potty? Thank you. 🙂
Hi Kelly, we have it linked in our kit here: https://kit.co/ourmontessorijourney/potty-learning